
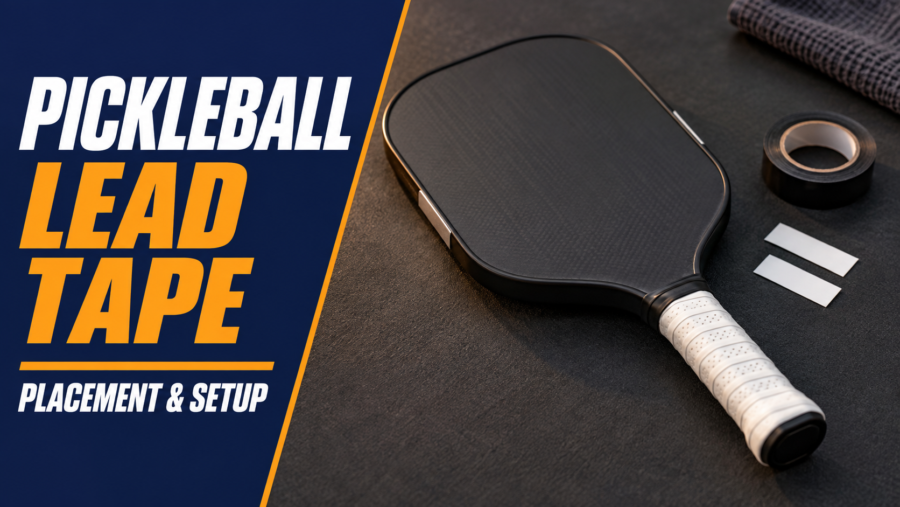
To add lead tape to a pickleball paddle, first weigh the paddle in its normal playing setup. Apply a small, measured amount to the outside edge, use matching amounts on the left and right, secure the tape, and test the change before adding more. For a first experiment, 1g on each side is a manageable starting increment, not a universal prescription.
Where the weight goes matters as much as how much you add. Weight near the tip changes swing feel more than the same amount close to your hand, while weight along the sides can improve resistance to twisting on off-center contact. Lead-free tungsten tape is worth considering because it avoids handling lead.
What Weighted Tape Changes
Adding tape changes three related properties:
- Static weight: the total mass of the paddle, grip and accessories.
- Balance: where that mass is centered along the paddle.
- Resistance to rotation: how much effort it takes to swing the paddle or twist its face.
A paddle can become more stable on a slightly off-center volley while also becoming slower to reposition. More weight is therefore a trade-off, not a free improvement in power and control.
The same broad principles appear in racket weight and balance customization, but pickleball paddles need their own placement choices and equipment-rule checks. Do not copy a tennis setup simply because its total added weight sounds reasonable.
Tape also cannot repair a damaged core, loose handle or separating face. If the paddle suddenly changes sound or response, investigate the fault before trying to tune around it.
Is Lead Tape Legal in Pickleball?
Under the 2026 USA Pickleball rules, weighted tape is an allowed alteration, provided the finished paddle still meets the equipment specifications. There is no paddle-weight limit under those rules, but that does not remove the restrictions on size, surface features and tape placement.
For tape extending onto the face, the limits are no more than 1in above the top of the grip and no more than 0.5in inward from the outer edge, or from the inside of the edge guard when one is present. These rules do not permit covering the hitting surface with weighted strips. Keeping narrow tape on the exterior perimeter makes the placement easier to assess.
The combined paddle length and width must remain within 24in, including the edge guard and butt cap, and overall length must not exceed 17in. Do not create bulky projections or cover the model identification with a modification that prevents an official from checking the paddle.
UPA-A has separate requirements. Its July 2026 specification permits flat weighted tape at the exterior perimeter and securely fixed weight at the handle or butt cap, but sets a maximum total weight of 10oz, approximately 283.5g, including modifications. Those requirements should not be confused with USA Pickleball’s weight rule.
Before entering an event, confirm which equipment standard it applies and whether your exact paddle model is currently approved. The wider pickleball rules guide covers the equipment context alongside the playing rules.
Where to Put the Tape
Imagine the paddle face as a clock, with 12 o’clock at the tip and the handle below 6 o’clock.
| Placement | Main reason to try it | Main compromise |
|---|---|---|
| Matching strips at 3 and 9 o’clock | More resistance to face twisting on left/right off-center contact | Added mass and some increase in swing effort |
| Matching strips around 4 and 8 o’clock | A lower starting position for a modest stability experiment | Less leverage against twisting than weight farther toward the sides |
| At 12 o’clock | More mass far from the hand for a more substantial swing feel | A comparatively large increase in swing resistance |
| Near the handle or butt | Change balance and total weight with less added swing resistance than tip weight | Does not cancel the inertia of weight already at the tip |
Start With the Problem You Can Identify
If defensive volleys twist the paddle in your hand, a small, symmetrical side placement is a more relevant experiment than immediately loading the tip. First check that your grip is secure and that the problem is not simply repeated edge contact.
If the paddle feels too easy to swing through the ball and you want a more substantial response, a small amount higher on the head may be worth testing. You still need to judge whether you can prepare and recover quickly enough during fast exchanges.
If you only dislike a head-heavy balance, handle weight can shift the balance point toward your hand. It cannot make the head’s added mass disappear, and the complete paddle will become heavier.
Keep the First Setup Symmetrical
Equal amounts on the left and right make the experiment easier to interpret. Deliberately uneven weighting introduces another variable and is unnecessary for a first adjustment.
A wider paddle and an elongated paddle also place the same clock positions at different distances from your hand and the paddle’s centerline. Record the actual location, not just “side tape,” if you want to reproduce the result on a backup.
How Much Weight Should You Add?
Begin with a small change such as 2g total, split into two 1g pieces. Test it before moving the pieces or adding another increment. A player who already struggles to maneuver the paddle may benefit more from removing accessories than adding weight.
Use the tape maker’s mass-per-length specification or weigh the pieces on a suitable small scale. A strip described as “3g” is not interchangeable with three inches of another tape. Width, thickness, metal content and adhesive all affect the mass.
Include the finishing tape in your final measurement. For example, a 225g paddle plus 2g of weighted tape and 1g of protective tape becomes approximately 228g. That arithmetic describes the total mass; it does not predict the exact change in swingweight.
Lead Tape Safety and Lead-Free Alternatives
Lead is a toxic metal, so avoid unnecessary contact and contamination when handling exposed lead tape. Precut, coated strips reduce cutting and direct handling, while lead-free tungsten products avoid the lead component entirely. Check the actual material declaration rather than assuming every weighted strip is lead-free.
If you use lead tape:
- Follow the product’s handling instructions and use disposable gloves when recommended.
- Work away from food, drinks, children and pets.
- Do not sand, file, scrape into powder or heat the tape.
- Keep offcuts and removed strips contained, and follow local disposal guidance.
- Clean the work area with a damp method rather than brushing possible particles into the air.
- Wash your hands before touching food or your face.
Lead-removal hand-cleaning products are preferable after direct lead handling; ordinary soap and water may not remove all lead contamination. Covering the installed tape with suitable edge tape can reduce exposed contact, but it does not turn lead tape into a lead-free product.
Do not apply the same length of tungsten tape and assume it matches a previous lead setup. Measure the replacement by mass.
How to Apply Weighted Tape Step by Step
1. Record the Baseline
Weigh the paddle with its normal grip, overgrip and edge protection. Photograph the edge and note what you want to change, such as stability on blocked volleys.
Check for damage, loose edge sections and existing adhesive buildup. A modification should not conceal a structural problem.
2. Check the Manufacturer’s Instructions
Confirm that the intended edge surface is suitable for adhesive tape and that customization will not conflict with the warranty conditions. Edgeless paddles and textured or painted perimeter finishes may need different care.
Clean and dry the application area using the manufacturer’s approved method. Do not use strong solvents or abrasive cleaners to force the adhesive to stick.
3. Measure Matching Pieces
Prepare equal left and right pieces, preferably using precut weights or lead-free material. Check the total mass and identify their intended positions before exposing the adhesive.
Keep the strips narrow enough to remain on the permitted edge area. Avoid stacking several thick layers into a raised lump.
4. Apply and Secure the Tape
Press the strips firmly onto the dry edge without stretching them around a sharp bend. Follow the adhesive manufacturer’s instructions for pressure and setting time.
If compatible protective edge tape is used over the weights, smooth it down securely. Check for loose ends, sharp edges and material extending too far onto the face.
5. Reweigh and Inspect
Record the new total and photograph the finished placement. Confirm that the identification remains readable and that the modification satisfies the rules used by your event.
Gently check adhesion before every session. Stop playing if a strip begins peeling off.
How to Test the Change
Use the same partner and ball type where possible, then compare a small set of repeatable shots:
- Gentle dinks to check touch and face control.
- Blocked volleys to assess stability without a full swing.
- Alternating forehand and backhand volleys to assess repositioning.
- Drives and returns to check preparation, depth and recovery.
- A short game to see whether the change remains useful under pressure.
These are different demands, so a setup that feels impressive on drives may still be less useful in doubles. The basic pickleball shot guide explains why a controlled block and an attacking swing need different responses.
Write down what improved and what became harder. If the result is unclear, return to the original setup before making another change. Repeated additions without a baseline can leave you with a heavy paddle and no clear reason for each strip.
When to Remove Weight
Remove some or all of the added weight if you begin preparing late, losing control during quick exchanges or gripping harder to manage the paddle. Discomfort is a reason to stop the experiment, not evidence that you simply need to adapt to a heavier setup.
Weighted tape is not a treatment for wrist, elbow or shoulder pain. Persistent symptoms deserve appropriate clinical assessment, and choosing a better-fitting paddle may be more useful than repeatedly modifying one that feels wrong. The comparison of pickleball paddles for different playing needs provides a broader starting point when the underlying paddle is the issue.
To remove tape, follow the manufacturer’s guidance and peel it back slowly without levering against the face or edge guard. Avoid heat and aggressive solvents. Contain discarded lead strips, clean any residue with an approved method, and reweigh the paddle before the next session.