
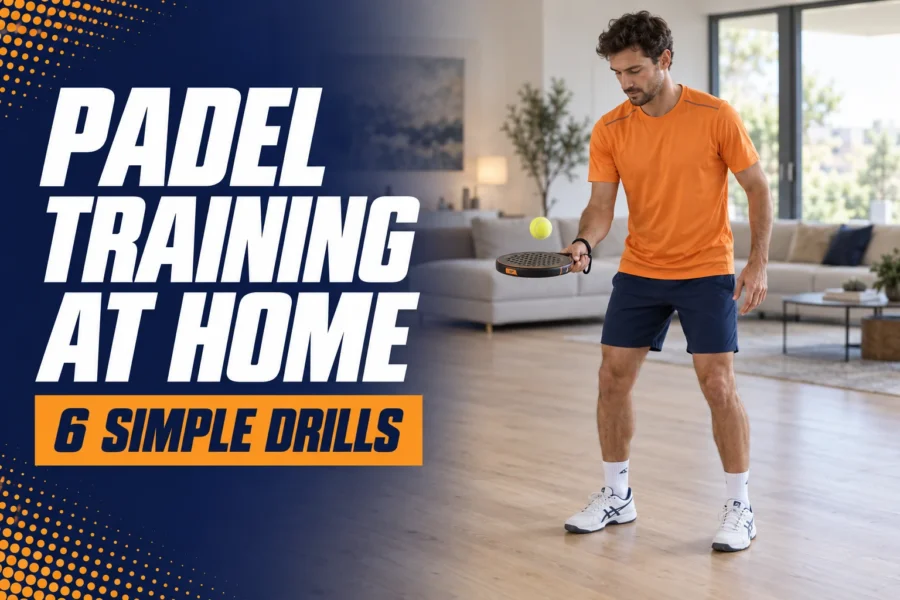
You can practice padel at home with racket-control exercises, shadow strokes, short footwork patterns and simple ball-handling drills. A racket and a soft ball are enough for most of the exercises below, and only the optional wall drill needs a suitable rebound surface.
Home practice gives you time to rehearse preparation, balance and controlled movements. You will still need court practice to develop shot placement, judge real glass rebounds and respond to an opponent’s ball.
Set Up a Suitable Practice Space
Choose a clear area with a dry, stable floor. Before starting, slowly move through the intended racket path and check that your swing, follow-through and steps stay clear of furniture, lights, people and pets.
Use your racket’s wrist strap and choose a soft foam ball for indoor ball-control exercises. If a ball escapes the practice area, stop and retrieve it instead of chasing it around obstacles.
You do not need to fit every drill into the same room. The bounce exercise needs a suitable floor, while wall practice may be better suited to an open garage or patio.
Begin with a few minutes of easy movement and gentle rehearsal. The repetitions below are adjustable starting points, so keep the pace comfortable enough to notice what you are doing.
1. Balance the Ball, Then Add Gentle Taps
This is a simple way to work on controlling the racket face without hitting across a room. Start with a soft ball and enough clear space to retrieve it easily.
- Hold the racket in your playing hand with its face pointing upward.
- Place the ball near the middle and keep it balanced for several seconds.
- Add a small upward tap, then catch the ball with your free hand.
- Progress to several consecutive low taps before catching it.
Aim for five controlled taps to begin with. Keep the ball within easy reach rather than trying to send it higher.
Make it easier: Return to balancing the ball, or use one tap followed by a catch. Adjust the racket gently when the ball starts moving toward an edge.
Make it harder: Build a longer sequence, then try alternating the racket face between taps. Keep the movement small enough that you remain in control of the ball and racket.
A foam ball will feel different from a padel ball. Use the exercise for racket familiarity, then adjust to the normal ball when you return to court.
2. Shadow Your Forehand and Backhand
Shadow practice means rehearsing a stroke without hitting a ball. It lets you slow down the preparation and check the movement described in padel forehand and backhand technique.
Setup: Stand in a comfortable ready position with room to turn and complete a compact swing. Imagine the net in front of you.
- Turn your shoulders toward the forehand side and prepare the racket.
- Rehearse a short swing through an imagined contact point slightly in front of your body.
- Return to the ready position.
- Repeat on the backhand side.
Try six slow repetitions on each wing. Concentrate on one detail, such as preparing without a large backswing or returning the racket to ready after the stroke.
Check your movement: Record a few repetitions from a stationary phone placed outside the swing area. Watch whether the preparation becomes larger as you repeat the exercise.
Progression: Add one small adjustment step before the swing. Keep enough room between your body and the imagined ball instead of reaching across yourself.
A recording can show your preparation and balance, but real contact timing must be checked with an incoming ball. If you are unsure about a movement, get feedback before making it the focus of repeated practice.
3. Rehearse the Volley and Return to Ready
This drill focuses on a compact volley action and the reset between shots. It works without a wall, ball or net.
Setup: Hold the racket comfortably in front of your body, with your knees slightly flexed. Leave enough room for a small step and a short racket movement.
- Make a small shoulder turn for a forehand volley.
- Move the racket forward through an imagined contact point without taking a large backswing.
- Bring the racket back to the ready position.
- Repeat on the backhand side.
Complete eight alternating repetitions at an easy pace. Make the return to ready part of every repetition so each imagined shot starts from a prepared position.
Progression: Add a controlled step toward the imagined ball. For this basic rehearsal, you can practice stepping with the opposite foot, while recognizing that live volleys require different footwork depending on the ball.
Use the preparation and contact guidance in padel volley technique. Keep the action comfortable enough that you can stop and check the racket position at any stage.
4. Practice Short Side Steps and a Balanced Reset
You can rehearse small movement patterns in a clear space without turning the session into a sprint workout. The aim is to move, settle and become ready again.
Setup: Choose a starting point with room for one or two controlled steps to either side. You can hold your racket or practice without it.
- Begin in a balanced ready position.
- Take a short movement to the right.
- Settle into a position from which you could move again, then return to the start.
- Repeat to the left.
Try six movements in each direction. Keep the distance short enough that you can stop comfortably within the available space.
Progression: Ask someone to give an unpredictable left or right cue. Move only after the cue, then reset before the next one.
That cue adds a response decision, but it does not reproduce reading an opponent’s stroke. On court, you also need to coordinate your readiness movement around the opponent’s contact.
For exercises that connect movement to incoming feeds, use these padel footwork drills.
5. Rehearse the Serve Release, Bounce and Catch
An inconsistent initial bounce can leave you reaching before the serve has even started. You can practice that release without striking the ball.
Setup: Use a ball and a surface suitable for gentle bouncing. Stand in your normal serving stance, with the racket held still in your playing hand.
- Release the ball from your free hand into the area where you would normally prepare to serve.
- Let it bounce once.
- Catch the rebound with your free hand near the intended contact area.
- Reset your stance and repeat.
Try ten releases and notice whether the ball lands in a similar place. Work toward a comfortable, repeatable setup without needing a last-second step or reach.
What to check: The ball should remain close enough for a controlled serving action while leaving room for the racket. If the release drifts, slow down and repeat the setup before adding any swing.
Different flooring and ball types change the bounce. This exercise rehearses the release, so check the complete action later using the guidance on how to serve in padel.
In a match, contact must be at or below waist level after the bounce. Court practice is also needed to check net clearance and diagonal placement.
6. Try a Soft-Ball Wall Toss and Catch
This optional exercise provides a simple ball-tracking and catching task. Use a soft ball, a suitable solid wall and enough space to receive the rebound without scrambling.
- Gently throw the ball underarm toward a broad area of the wall.
- Follow its flight and catch the rebound with both hands.
- Reset your position before the next throw.
- Once comfortable, vary the target slightly to either side.
Start with ten easy catches. Keep the throw gentle and adjust the distance until the rebound is manageable.
Make it easier: Allow a floor bounce before catching, provided the surface produces a predictable bounce. If you have no suitable wall, use a small upward toss and catch instead.
Make it harder: Catch with one hand, alternating hands between repetitions. Increase the challenge through placement before adding speed.
Use only a surface suited to ball practice. Household windows, mirrors and glass doors are not substitutes for court glass.
A wall toss returns the ball toward you while you face the wall. Actual back-glass rebound drills teach a different task, including letting an incoming ball pass, creating space and judging its rebound behind you.
A Simple 15-Minute Home Practice Session
Choose a few exercises that suit your space and the skill you want to rehearse. This example includes time for resets and short breaks.
| Time | Activity | Focus |
|---|---|---|
| 0–2 minutes | Easy movement and gentle rehearsal | Moving comfortably through the available space |
| 2–5 minutes | Ball balance and low taps | Racket-face control |
| 5–8 minutes | Forehand, backhand and volley shadows | Compact preparation and return to ready |
| 8–11 minutes | Short lateral movements | Controlled steps and balance |
| 11–13 minutes | Serve bounce or soft-ball catching | A repeatable release or manageable catches |
| 13–15 minutes | Repeat or record one exercise | Checking a single movement detail |
If you have less time, select two drills and give each a clear purpose. For example, pair volley shadows with short side steps if you often finish a volley unprepared for the next ball.
There is no need to make every session harder. Repeat the same version until you can perform it comfortably, then change one feature at a time.
Avoid Rehearsing the Same Mistake
Repetition is more useful when you know what you are checking. Before starting a set, choose one observable detail, such as the size of your backswing, your racket position after a volley or where the serve bounce lands.
Keep video reviews brief and specific. Compare a few repetitions with a reliable technique demonstration or a cue from your coach, then decide whether to continue, simplify the exercise or ask for feedback.
Avoid forcing a swing into a space that changes the movement. If the room is too small for the intended action, rehearse just the turn and preparation, or choose a ball-control exercise instead.
Test the Skill on Your Next Court Visit
Take one home-practice goal onto the court. If you rehearsed a compact forehand, begin with gentle feeds and check whether the preparation stays manageable when you have to judge a real ball.
When a court is available but a partner is not, these solo padel practice drills add actual contact, targets and rebounds.
With a partner, move into padel drills for two players so the same movement is tested against changing direction, pace and depth. Use what happens in those exchanges to choose the focus of your next home session.