
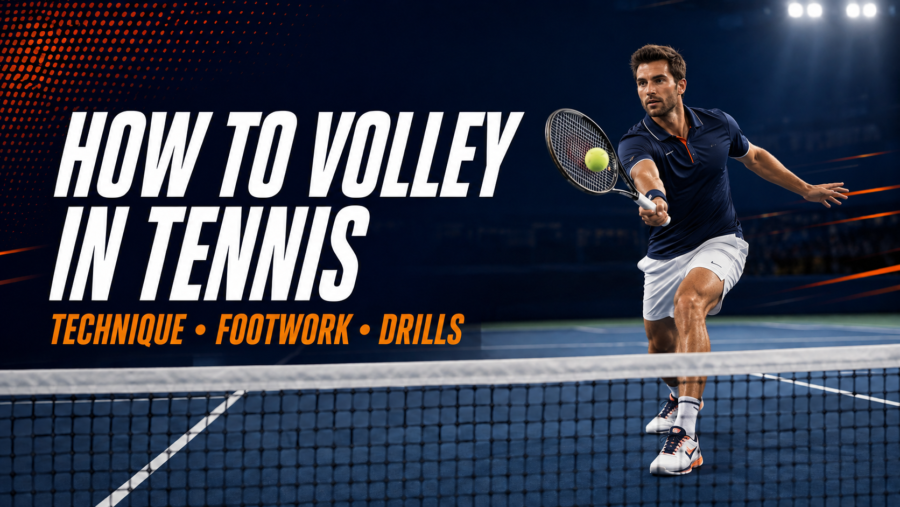
A tennis volley is a shot struck before the ball bounces. The reliable foundation is a continental grip, a compact blocking motion, contact in front and to the side of the body, and a split step timed to the opponent’s contact.
The volley is not a shortened groundstroke. Keep the racket in front, avoid a large backswing and use positioning, body weight and the incoming ball’s pace to control the shot.
Volley Technique at a Glance
| Element | Simple cue |
|---|---|
| Grip | Continental, also called the chopper grip |
| Ready position | Racket head up, hands in front, knees flexed |
| Timing | Split as the opponent makes contact |
| Preparation | Turn the shoulders, not a full backswing |
| Contact | In front and slightly to the side |
| Swing | Short block or punch |
| Finish | Compact, balanced and ready for the next ball |
| Main goal | Control the face and place the ball before adding pace |
What Is a Volley in Tennis?
A volley is any legal return made before the ball bounces on your side. Most volleys are played near the net, but the definition depends on when the ball is struck rather than where the player stands.
The receiver cannot volley a serve. Under the rules, a service must bounce in the correct service court before it is returned. After that return, either player may take a later ball out of the air.
Common types include the forehand volley, backhand volley, low volley, high volley, drop volley and half volley. A half volley is technically different because the ball is played immediately after the bounce.
Use the Continental Grip
The continental grip is the standard starting point for both forehand and backhand volleys. The LTA calls it the chopper grip because the hand position resembles holding the racket like an axe, while the USTA also teaches it for volleys, serves, slices and overheads.
For a right-handed player, place the base knuckle of the index finger and the heel pad near bevel two. A left-handed player uses the mirrored position. Another simple check is to hold the handle as if shaking hands with it rather than placing the palm flat behind the strings like a frying pan.
Using one basic grip on both sides saves time during fast net exchanges. Advanced players may make small adjustments for particular heights and spins, but beginners should first learn to control both volleys without a major grip change.
Build a Strong Ready Position
Stand with the feet a little wider than shoulder width, knees comfortably flexed and weight toward the front of the feet. Hold the racket in front of the chest with the head above the hands, and support the throat lightly with the non-dominant hand.
The ready position should feel active rather than tense. Keep the elbows away from the torso so the racket can move to either side without first becoming trapped behind the body.
Do not crowd the net. You need enough space to react, avoid touching the net and handle a ball at the feet. The ideal distance changes with the opponent’s position and your own reach, so net play is a movement problem rather than one fixed spot.
Time the Split Step
Make a small split step as the opponent strikes the ball. The goal is to land in a balanced position as the ball leaves the opponent’s strings, then push immediately toward the forehand, backhand or body volley.
Splitting too early leaves the feet flat before you know the direction. Splitting too late means you are still in the air while the ball is already traveling toward you.
After landing, use a quick first step toward the ball and keep the upper body controlled. Tennis Footwork in 3 steps explains how the split step, adjustment steps and recovery connect across other shots as well.
How to Hit a Forehand Volley
1. Recognize the Forehand Side
Read the opponent’s racket and begin moving as soon as the direction becomes clear. Keep the racket in front instead of dropping the head behind the hip.
2. Turn the Shoulders
Make a small unit turn so the hitting shoulder moves slightly behind the non-hitting shoulder. The preparation is much shorter than a forehand groundstroke.
The non-dominant hand can release the throat as the turn begins. Avoid pulling the racket into a loop or taking it behind the body.
3. Move to the Contact Point
Create space so contact occurs in front and slightly to the side. When time allows, a right-handed player can step toward the ball with the left foot, while a left-handed player can use the right foot.
That step is a useful pattern, not a rule that should destroy balance. On a fast body ball, a quick adjustment or open stance may be more practical than forcing a textbook crossover.
4. Block Through the Ball
Move the racket forward with a compact punch and a stable face. The path is generally level or slightly downward on a comfortable high volley, but it should match the ball height and intended target rather than becoming a chopping motion.
Use a firm-enough hand at contact to keep the face from collapsing, then avoid squeezing at maximum tension throughout the preparation. The USTA’s beginner cue “squeeze and freeze” is useful because it discourages an oversized swing.
5. Finish Balanced
Let the racket finish a short distance in front. Recover the racket to the ready position immediately because the next ball may arrive before there is time for a long follow-through.
How to Hit a Backhand Volley
The backhand volley uses the same continental grip and compact principle. Many players find it structurally stable because the hitting arm can work in front of the body with help from a small shoulder turn.
1. Turn With Both Hands
Use the non-dominant hand on the throat to guide the racket toward the backhand side. Turn the shoulders while keeping the racket head up and visible in front of the body.
2. Create Space
Move so the ball is not jammed against the torso. A right-handed player will often step with the right foot when time permits, while a left-handed player will often step with the left.
3. Contact in Front
Meet the ball ahead of the lead shoulder with a stable wrist and controlled face. The exact distance changes with ball speed and height, but late contact usually makes the face harder to control.
4. Use a Short Forward Action
Block or punch toward the target without a large backswing. The non-dominant hand can move back as a counterbalance while the hitting arm moves forward.
Finish compactly and recover. Do not let the racket wrap around the body like a one-handed backhand groundstroke.
Low, High and Body Volleys
Low Volley
Flex the knees and lower the center of mass rather than dropping only the racket head. Keep the face modestly open, contact in front and send the ball with enough height to clear the net.
A low volley is often a neutralizing shot. Aim deep through the middle or to a large target instead of trying to force a winner from below net height.
High Volley
A ball above net height creates more attacking options. Close the face according to the contact height and target, use a slightly firmer forward action and place the ball into open court or at the opponent’s feet.
Do not turn every high ball into a full swing. If the ball becomes a true lob, move under it and use overhead technique instead; How To Hit a Smash in Tennis covers that separate motion.
Body Volley
Create space with a quick side step or turn when possible. If reaction time is minimal, keep the hands in front and use a compact backhand block for many balls directed at the torso.
The priority is a stable face and a safe target. Trying to run around a fast body ball can make contact later and less controlled.
Volley Positioning and Recovery
Move forward when your approach shot or partner’s ball puts the opponent under pressure, but split before the opponent makes contact. Running through that moment makes it difficult to change direction for a pass.
After the volley, recover according to the new geometry of the point. In singles, cover the most likely passing lanes without standing directly on top of the net. In doubles, move with your partner so a large gap does not open through the middle.
Poaching is a tactical movement across the net player’s side, not simply a more aggressive volley swing. What is Poaching in Doubles? explains when that movement can pressure the returner and what coverage the partner needs.
Where to Aim a Volley
Choose the target from the height and difficulty of the incoming ball.
- From below net height, play through the middle or deep to a large target.
- From around net height, direct the ball away from the opponent or toward the feet.
- From well above net height, use the open court or a decisive angle.
- In doubles, a controlled ball at the opposing net player’s feet can be more effective than a risky sideline attempt.
- Under pressure, prioritize depth and recovery rather than a low-percentage winner.
Direction comes mainly from the racket face and contact point. A larger swing is not a reliable substitute for accurate positioning.
Common Volley Mistakes
| Mistake | Why it causes trouble | Better correction |
|---|---|---|
| Using a forehand groundstroke grip | Slows grip changes and makes the backhand side awkward | Start both sides with a continental grip |
| Taking a large backswing | Creates late contact and face movement | Keep the racket in front and turn the shoulders |
| Swinging with the wrist | Changes the face close to contact | Use a stable wrist and compact forward action |
| Skipping the split step | Makes reaction and direction changes slower | Land as the opponent contacts the ball |
| Standing too close to the net | Reduces reaction space and exposes the lob | Maintain useful working distance and keep moving |
| Standing too far back | Opens the feet and passing angles | Close forward after a strong approach, then split |
| Trying to win from below net height | Encourages a risky downward shot into the net | Neutralize deep or through the middle |
| Admiring the first volley | Leaves the player unprepared for the reply | Recover the racket and court position immediately |
Volley Drills
1. Continental-Grip Tap Drill
Hold the racket in the continental grip and tap the ball upward on the strings. Alternate the forehand and backhand faces, keeping the racket head above the hand.
This is a low-speed way to learn grip orientation and face control before adding an incoming ball.
2. Partner Catch-and-Volley Drill
Stand near the service line while a partner tosses easy balls to each side. Volley back to the partner’s hands using a compact motion, then progress from predictable feeds to random forehand and backhand feeds.
Start with placement rather than speed. Move closer to the net only after the contact point remains controlled.
3. Wall Volley Drill
Mark a safe target above an unobstructed practice wall. Volley continuously at a manageable distance, count consecutive contacts and alternate sides.
Move farther from the wall if the rebound is too fast for clean technique. Check the facility rules and make sure the area behind you is clear.
4. Split-Step Reaction Drill
Begin in the ready position while a partner holds two balls. Split as the partner starts the feed, then react to a random toss on either side and recover to the middle.
The drill is successful when the landing time improves, even before the volley becomes powerful.
5. Low-Volley Target Drill
Place a large target deep through the center of the opposite court. Ask a partner to feed below net height and try to clear the net safely while landing the ball in the target area.
This teaches the difference between neutralizing a difficult volley and attacking an easy one.
6. Approach, First Volley and Close
Start near the baseline, play an approach shot, move forward, split and hit the first volley from around the service line. Continue forward under control for a second volley.
The purpose is to connect movement with the shot, not to sprint blindly at the net. Pause the drill if the split step disappears.
7. No-Bounce Doubles
Use four players near the service boxes and keep the rally going without a bounce after a cooperative feed. Reduce the speed so everyone can work on ready position, compact contact and recovery.
As control improves, play points with normal boundaries. This creates realistic reaction and communication demands without requiring every ball to be hit hard.
A 20-Minute Volley Practice Session
| Time | Activity | Focus |
|---|---|---|
| 3 minutes | Grip taps and shadow volleys | Continental grip and compact preparation |
| 4 minutes | Predictable partner feeds | Contact in front on both sides |
| 4 minutes | Random reaction feeds | Split-step timing and first movement |
| 4 minutes | Low-volley targets | Height, depth and safe selection |
| 5 minutes | Approach plus two volleys | Transition, recovery and point positioning |
Track one outcome at a time, such as clean contacts out of 20 or balls landing in a large target. Adding speed before the grip, spacing and face are stable usually hides the real error.
Players who want a more structured progression can continue with The Volley Fix after building these fundamentals.
Final Checklist
Use this checklist before each volley.
- Use a continental grip.
- Keep the racket head up and in front.
- Split as the opponent hits.
- Move to create space.
- Contact the ball in front and to the side.
- Keep the motion compact.
- Match the target to the height of the ball.
- Recover for the next shot.
Reliable volleys come from early preparation and controlled positioning, not from a bigger swing. Build the continental grip, split step and compact contact first, then add direction, depth and attacking choices as those foundations become repeatable.